> ## Documentation Index
> Fetch the complete documentation index at: https://nuntly.com/docs/llms.txt
> Use this file to discover all available pages before exploring further.
# Get Up and Running
> Follow the three-step onboarding in the Nuntly dashboard - create an API key, send your first email, and set up your account.
Before you begin, [create a Nuntly account](/docs/guides/account-setup) if you haven't already.
The **Getting started** page in your dashboard walks you through three steps to get up and running. Each step builds on the previous one.
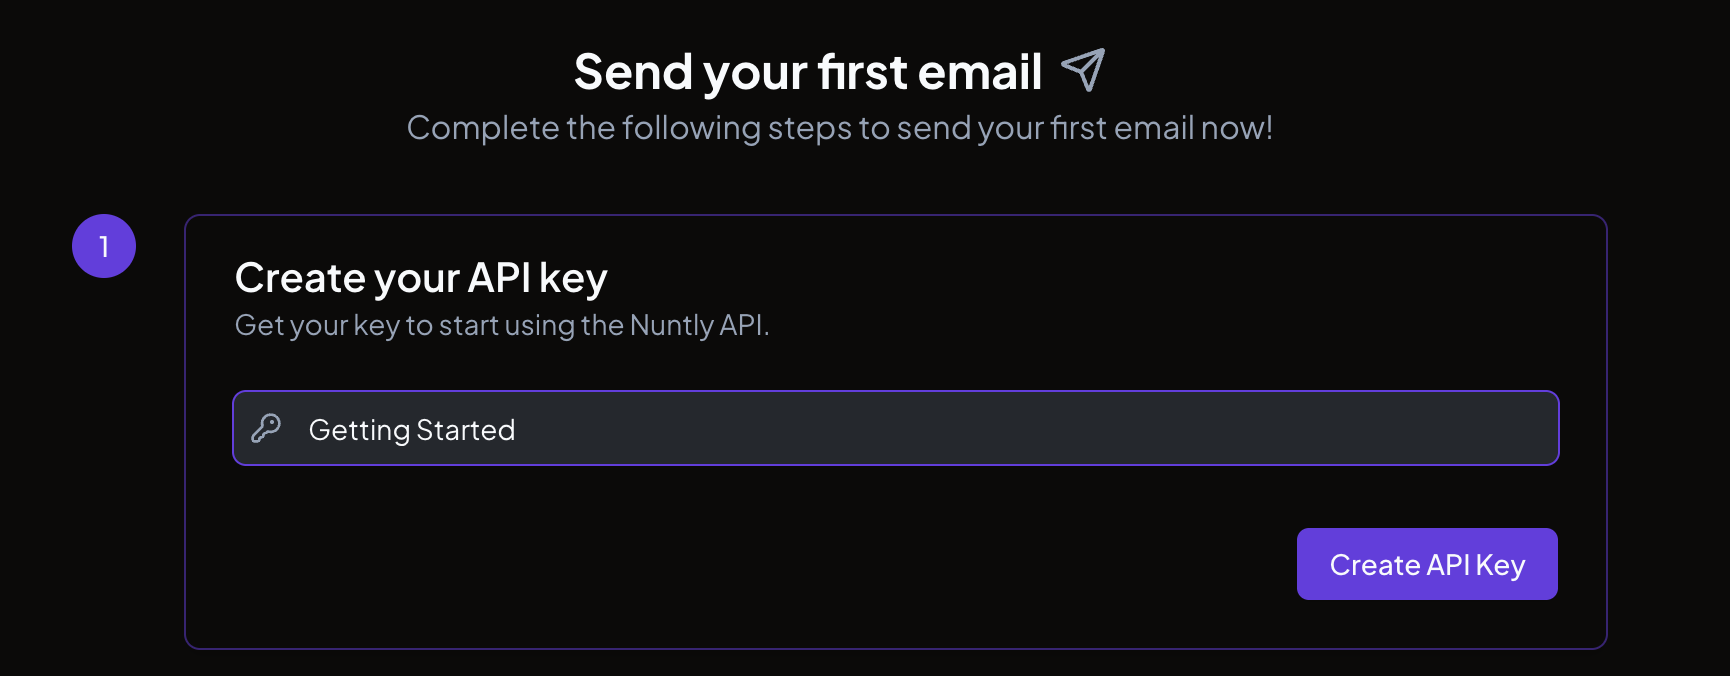
Your API key authenticates all requests to the Nuntly API. On the getting started page:
1. Enter a name for your key (the default is "Getting Started", but you can change it to anything descriptive)
2. Click **Create API Key**
 Your API key is displayed immediately after creation. Copy it and store it in a secure location. You will not be able to view it again from this page.
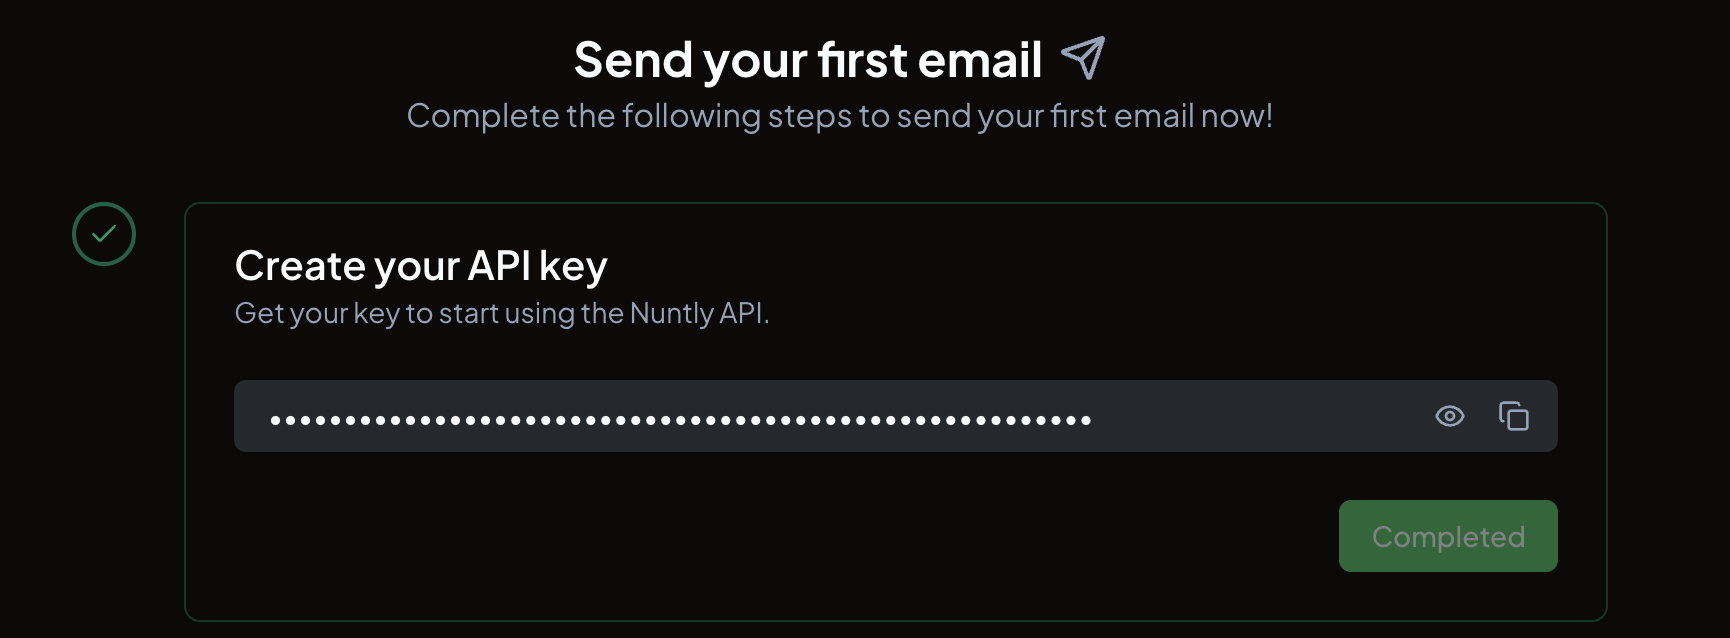 This is the only time your API key is displayed on this page. Store it in an environment variable or a secrets manager before moving on.
You can create and manage additional API keys at any time from the [API keys](/docs/guides/api-keys) page.
This step shows code samples for sending an email using the API key you just created. The samples are available in TypeScript, cURL, PHP, Python, Ruby, Go, and Java.
This is the only time your API key is displayed on this page. Store it in an environment variable or a secrets manager before moving on.
You can create and manage additional API keys at any time from the [API keys](/docs/guides/api-keys) page.
This step shows code samples for sending an email using the API key you just created. The samples are available in TypeScript, cURL, PHP, Python, Ruby, Go, and Java.
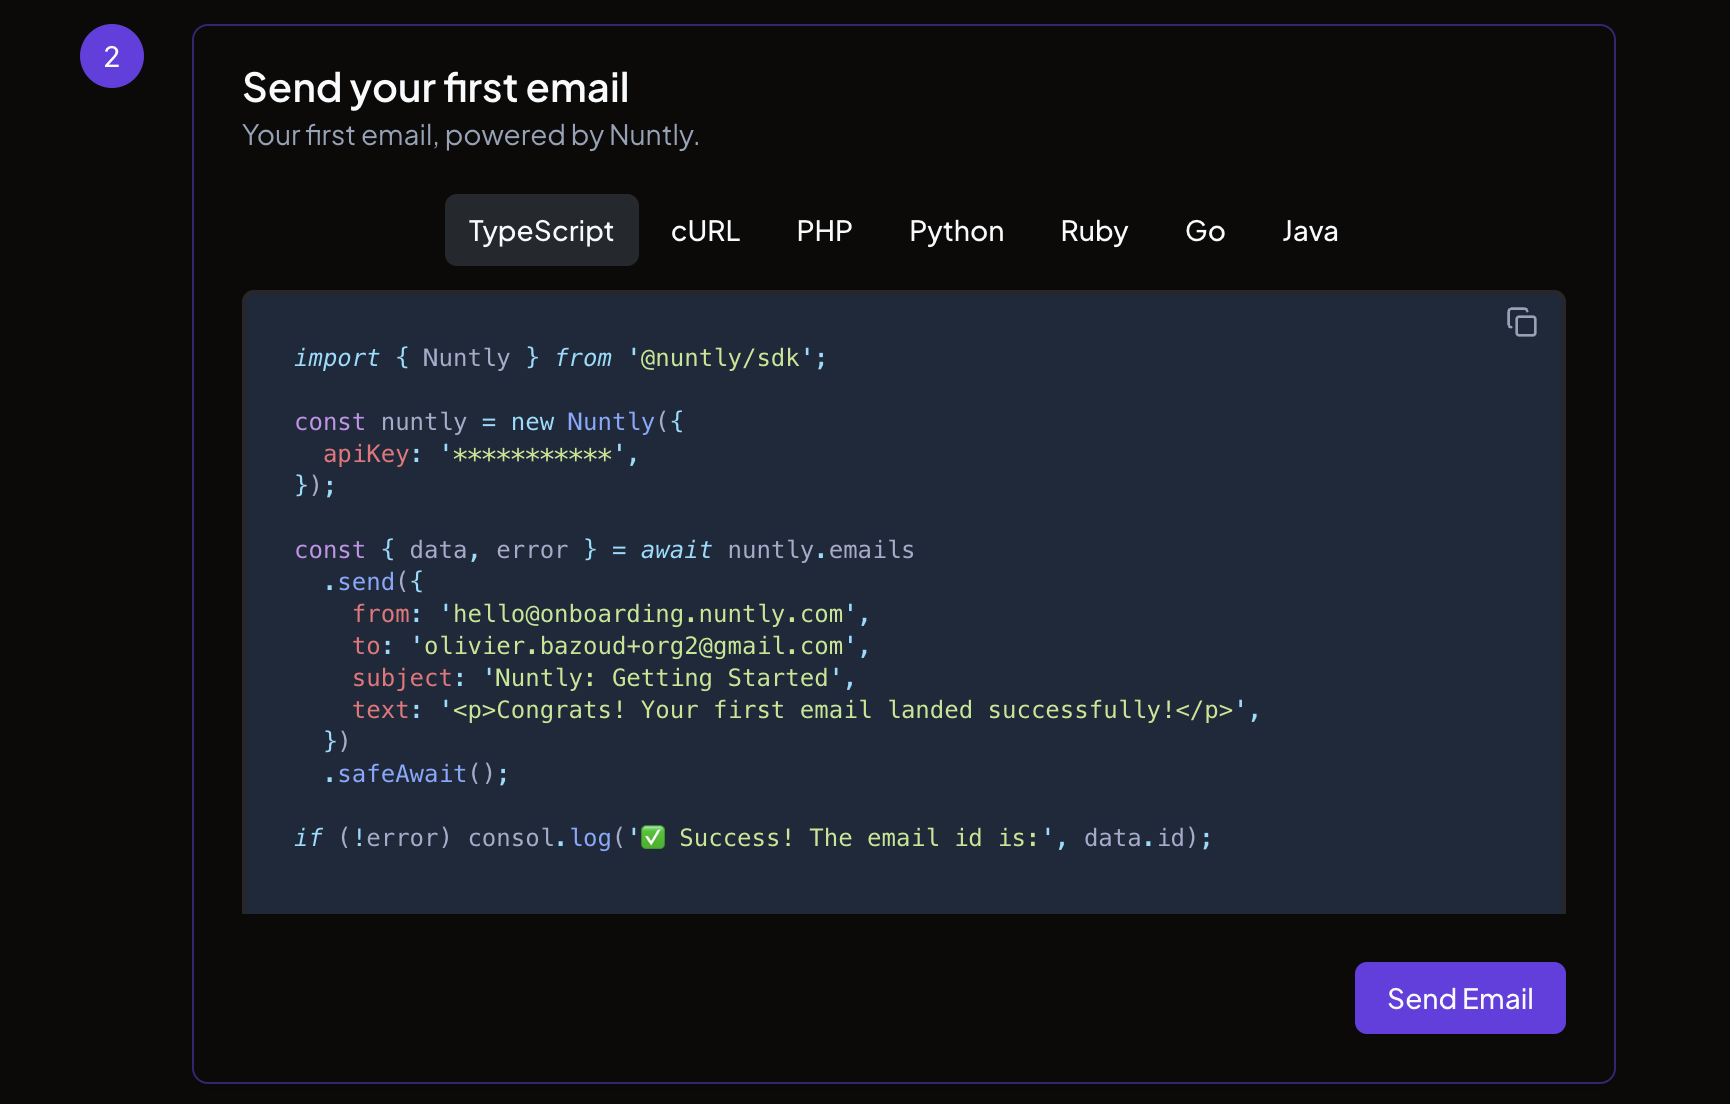 Click **Send Email** to send a test email using your new API key. A success notification confirms the email was sent.
For a deeper look at sending emails programmatically, see [Send your first email](/docs/guides/send-your-first-email).
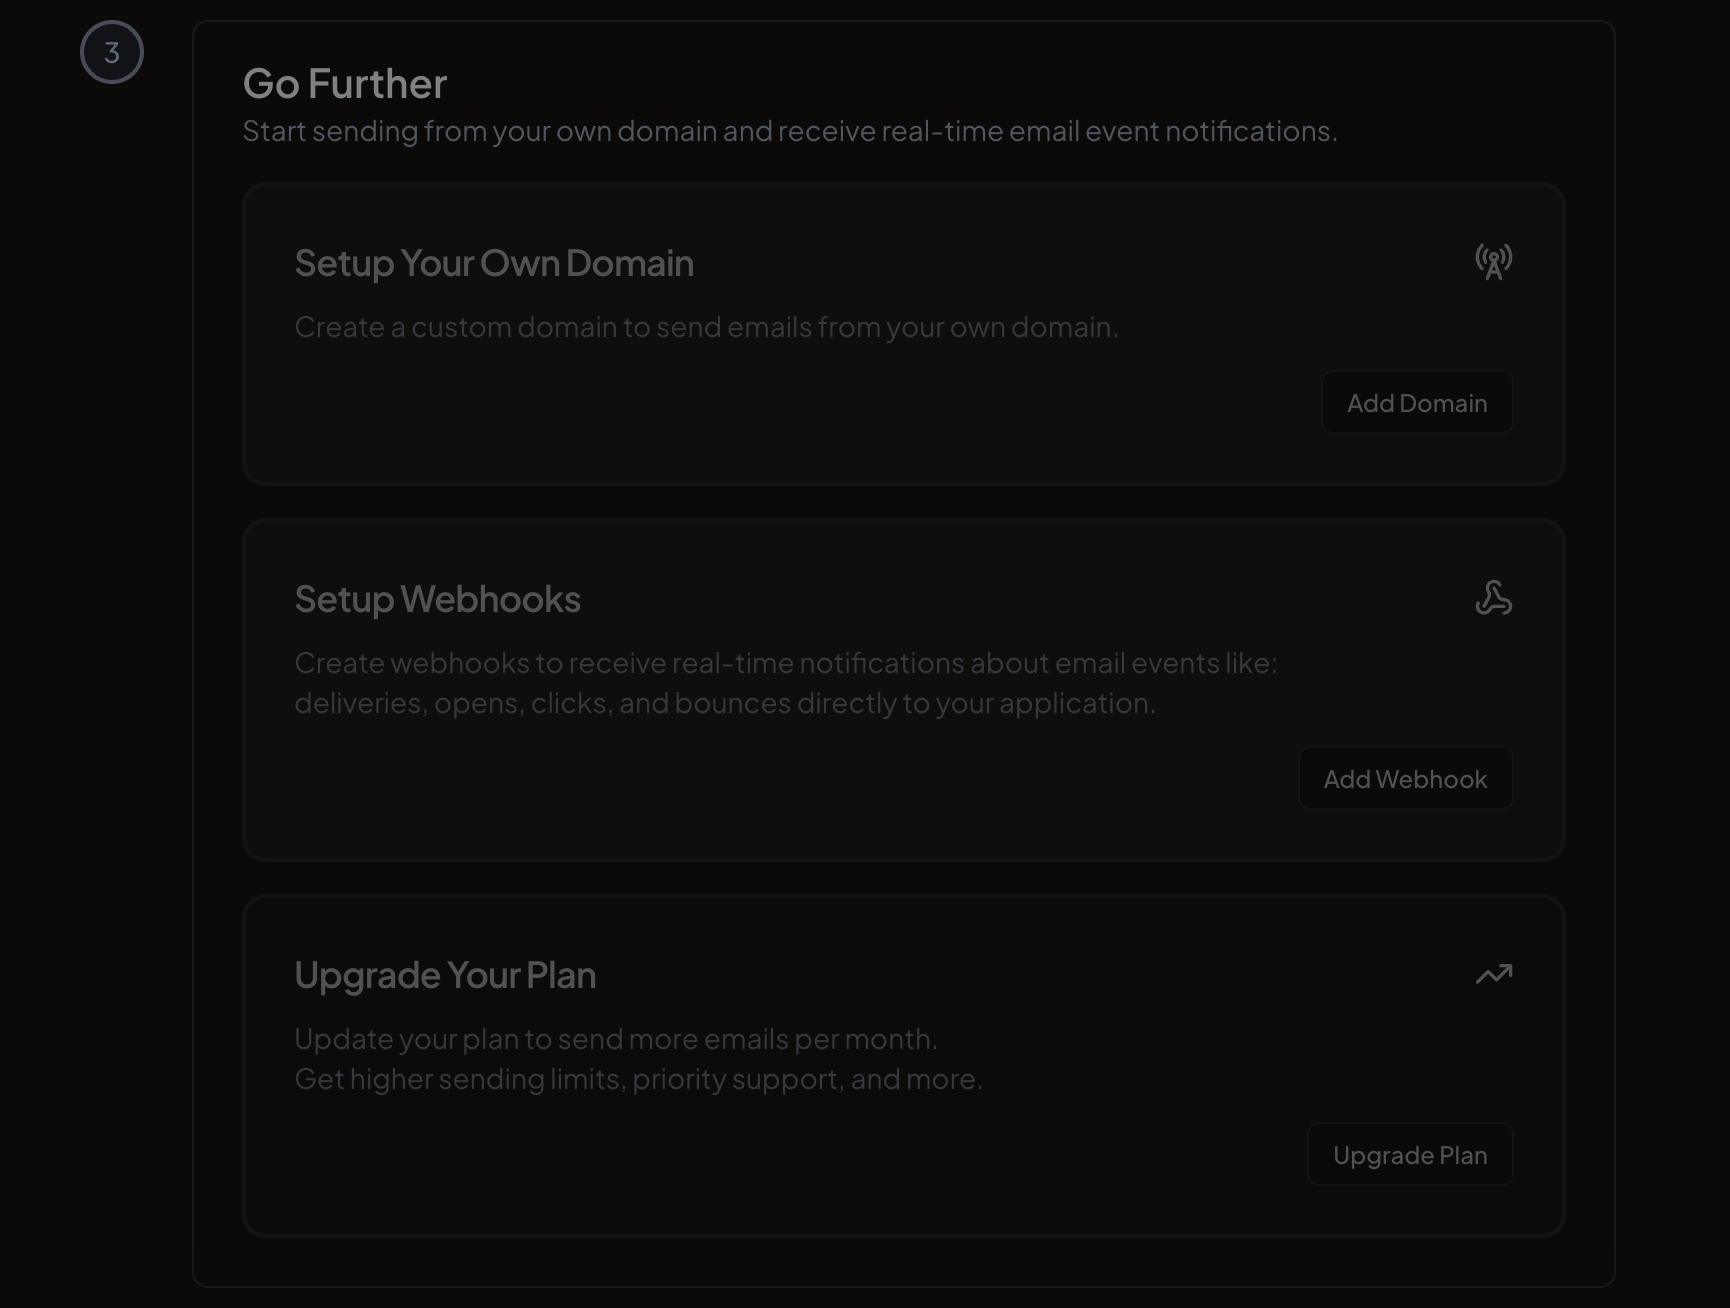
Once your test email is sent, you can set up the next things:
* **Setup your own domain** to send emails from your own domain instead of a shared one. See the [sending domains guide](/docs/guides/sending-domains).
* **Setup webhooks** to receive real-time notifications when email events occur. See the [webhooks guide](/docs/guides/webhooks).
* **Upgrade your plan** to increase your sending limits and unlock additional features.
Click **Send Email** to send a test email using your new API key. A success notification confirms the email was sent.
For a deeper look at sending emails programmatically, see [Send your first email](/docs/guides/send-your-first-email).
Once your test email is sent, you can set up the next things:
* **Setup your own domain** to send emails from your own domain instead of a shared one. See the [sending domains guide](/docs/guides/sending-domains).
* **Setup webhooks** to receive real-time notifications when email events occur. See the [webhooks guide](/docs/guides/webhooks).
* **Upgrade your plan** to increase your sending limits and unlock additional features.