> ## Documentation Index
> Fetch the complete documentation index at: https://nuntly.com/docs/llms.txt
> Use this file to discover all available pages before exploring further.
# Add a Sending Domain
> Learn how to add a sending domain in Nuntly. Configure DKIM, SPF, DMARC, and MX DNS records, import a zone file, and enable open and click tracking.
A sending domain is the domain that appears as the sender address in your emails (for example, `you@yourdomain.com`). You need to verify ownership of the domain by adding specific DNS records provided by Nuntly.
You need a Nuntly account and access to the DNS settings of the domain you want to use. If you don't own a domain yet, register one through any
domain registrar.
## Create a sending domain
In the dashboard, go to **Domains**.
 Click **Create Sending Domain**.
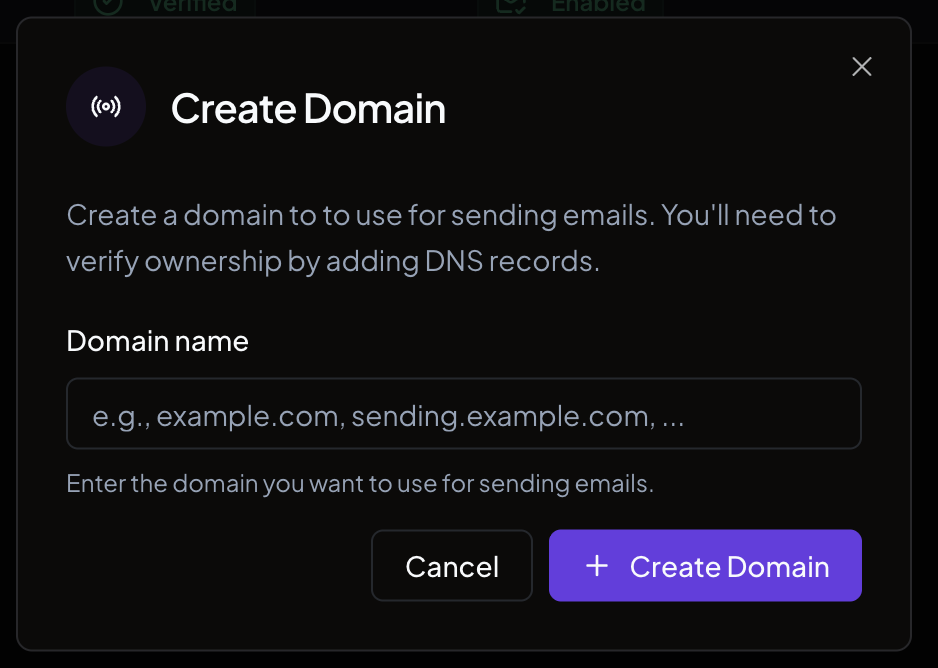
Enter your domain name (for example, `example.com` or `sending.example.com`) and Click **Create Domain**.
Click **Create Sending Domain**.
Enter your domain name (for example, `example.com` or `sending.example.com`) and Click **Create Domain**.
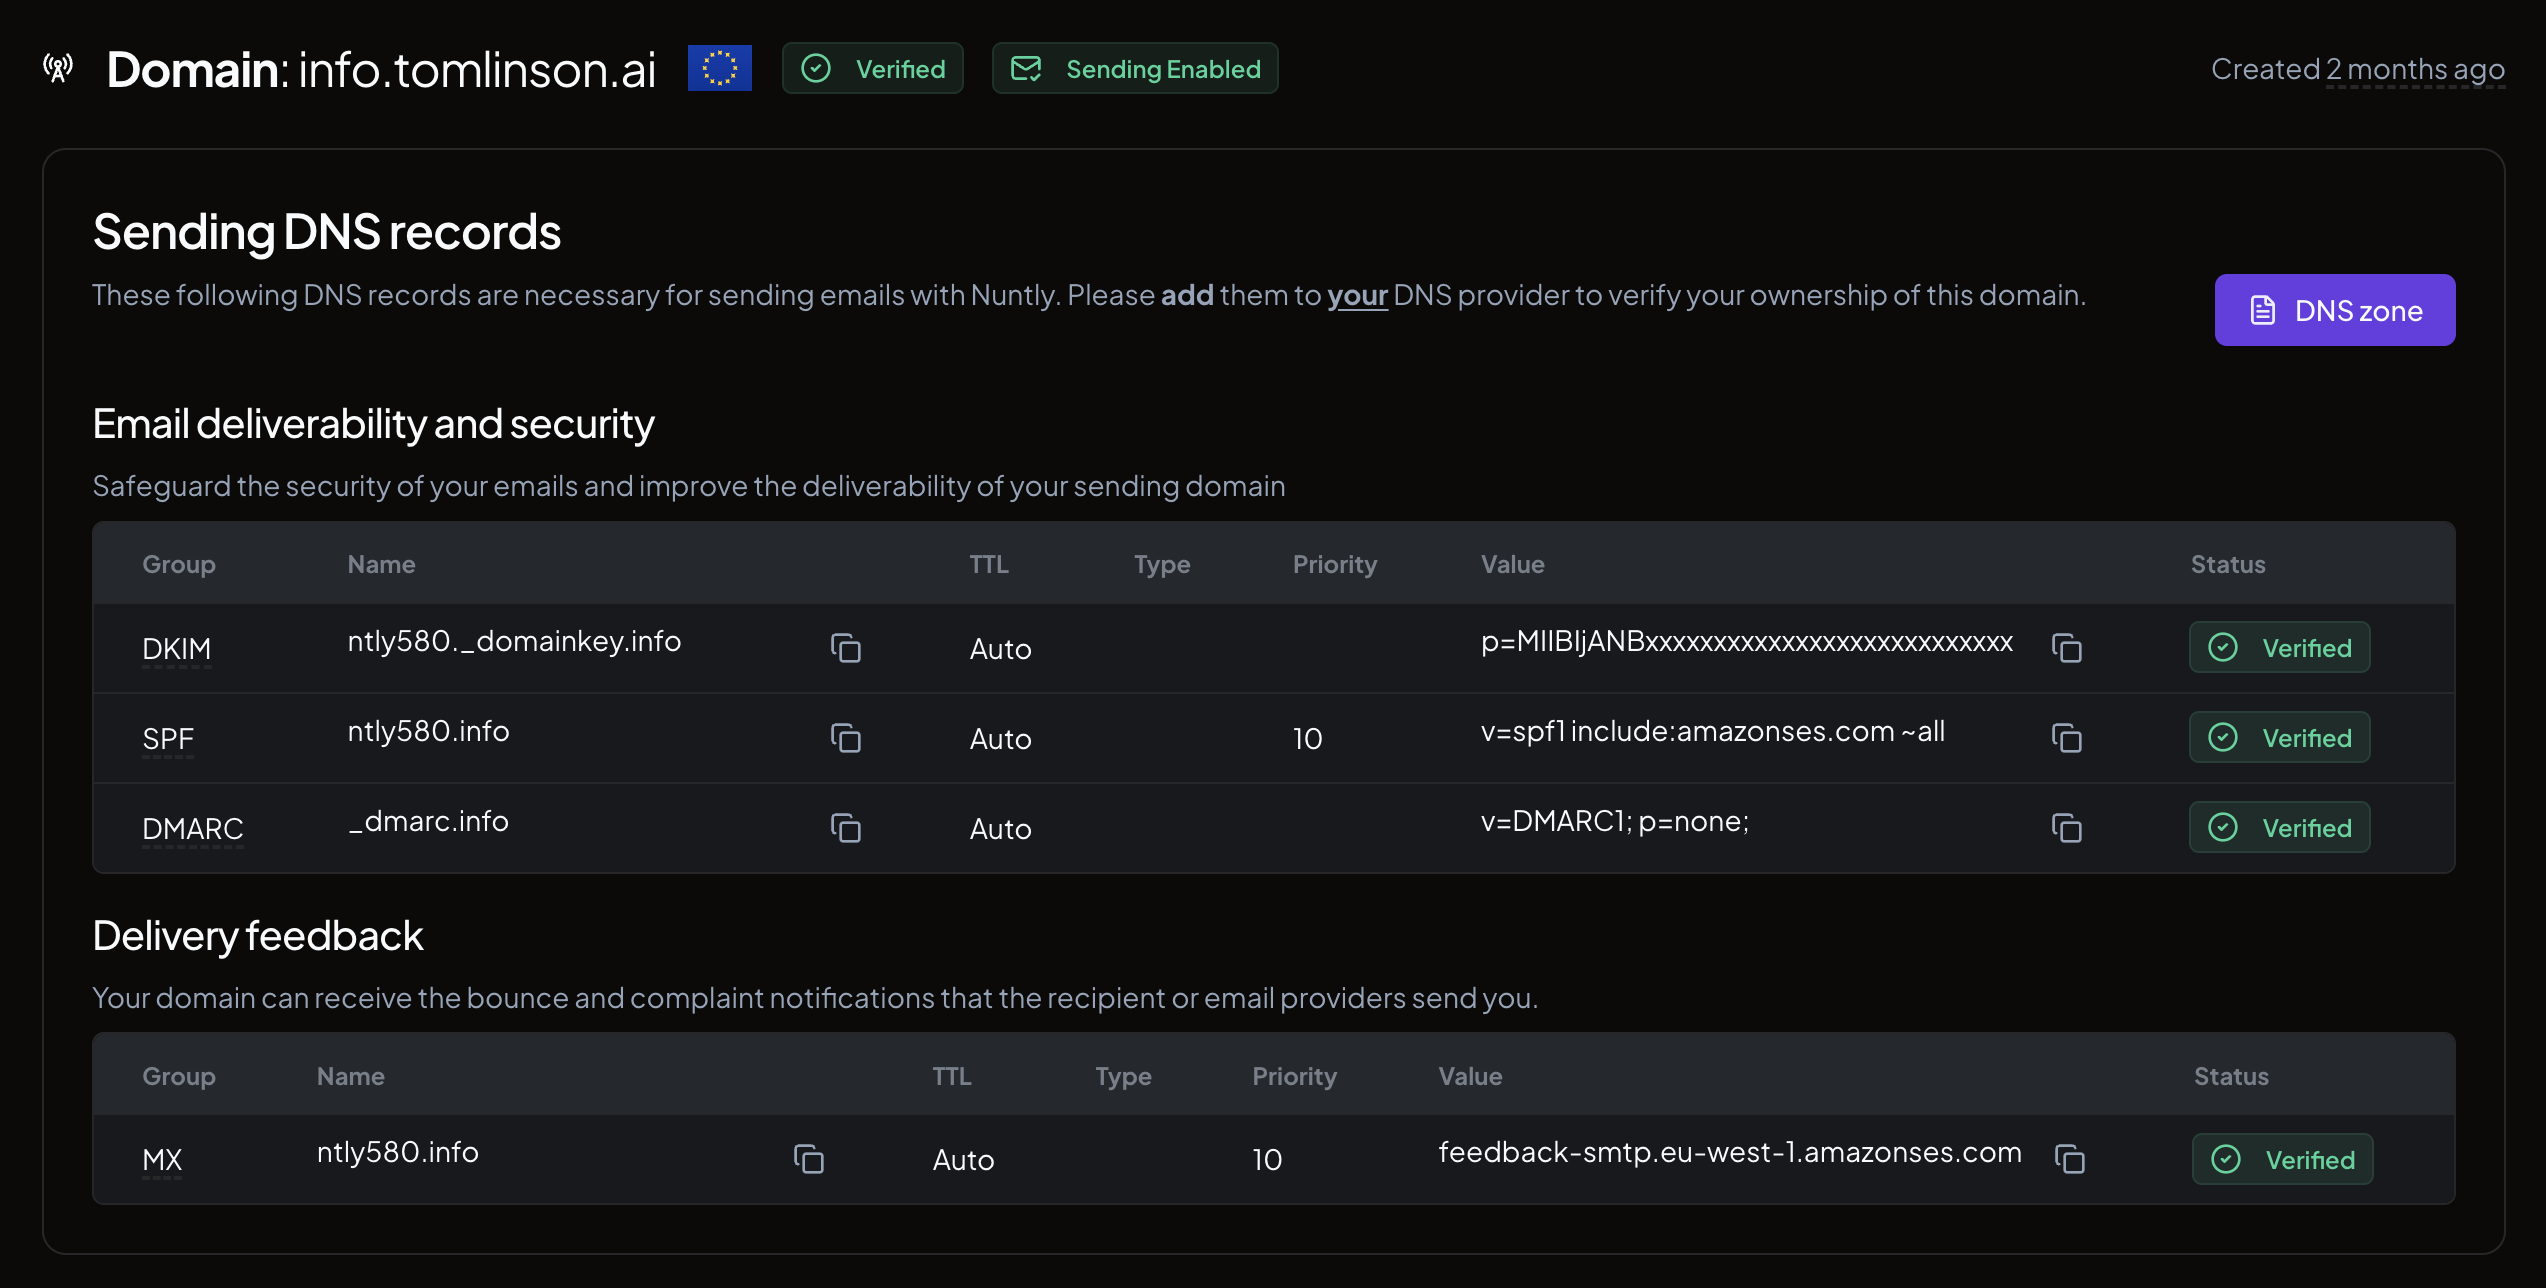
 You are redirected to the domain detail page, where the DNS records are displayed. DKIM, SPF, and MX are required to verify the domain. DMARC is recommended but optional.
## Configure DNS records
Nuntly generates four types of DNS records that you need to add to your DNS provider:
| Record type | Requirement | Purpose |
| ----------- | ----------- | ------------------------------------------------------------------------- |
| **DKIM** | Required | Authenticates your email and proves it was sent by you |
| **SPF** | Required | Specifies which mail servers are allowed to send on behalf of your domain |
| **MX** | Required | Routes bounce and complaint notifications back to Nuntly |
| **DMARC** | Recommended | Defines how your domain handles emails that fail DKIM or SPF checks |
DMARC is recommended but never required to verify your domain. Nuntly suggests a `p=none` starting policy, and you are free to publish a stricter policy (`p=quarantine` or `p=reject`) with a reporting address. A stricter DMARC policy never blocks domain verification.
You are redirected to the domain detail page, where the DNS records are displayed. DKIM, SPF, and MX are required to verify the domain. DMARC is recommended but optional.
## Configure DNS records
Nuntly generates four types of DNS records that you need to add to your DNS provider:
| Record type | Requirement | Purpose |
| ----------- | ----------- | ------------------------------------------------------------------------- |
| **DKIM** | Required | Authenticates your email and proves it was sent by you |
| **SPF** | Required | Specifies which mail servers are allowed to send on behalf of your domain |
| **MX** | Required | Routes bounce and complaint notifications back to Nuntly |
| **DMARC** | Recommended | Defines how your domain handles emails that fail DKIM or SPF checks |
DMARC is recommended but never required to verify your domain. Nuntly suggests a `p=none` starting policy, and you are free to publish a stricter policy (`p=quarantine` or `p=reject`) with a reporting address. A stricter DMARC policy never blocks domain verification.
 ### Add records manually
For each record in the table, copy the **Name** and **Value** fields and add them as new DNS records in your provider's control panel. The exact steps depend on your provider. Refer to their documentation for instructions.
### Import via zone file
If your DNS provider supports zone file imports, you can add all records at once:
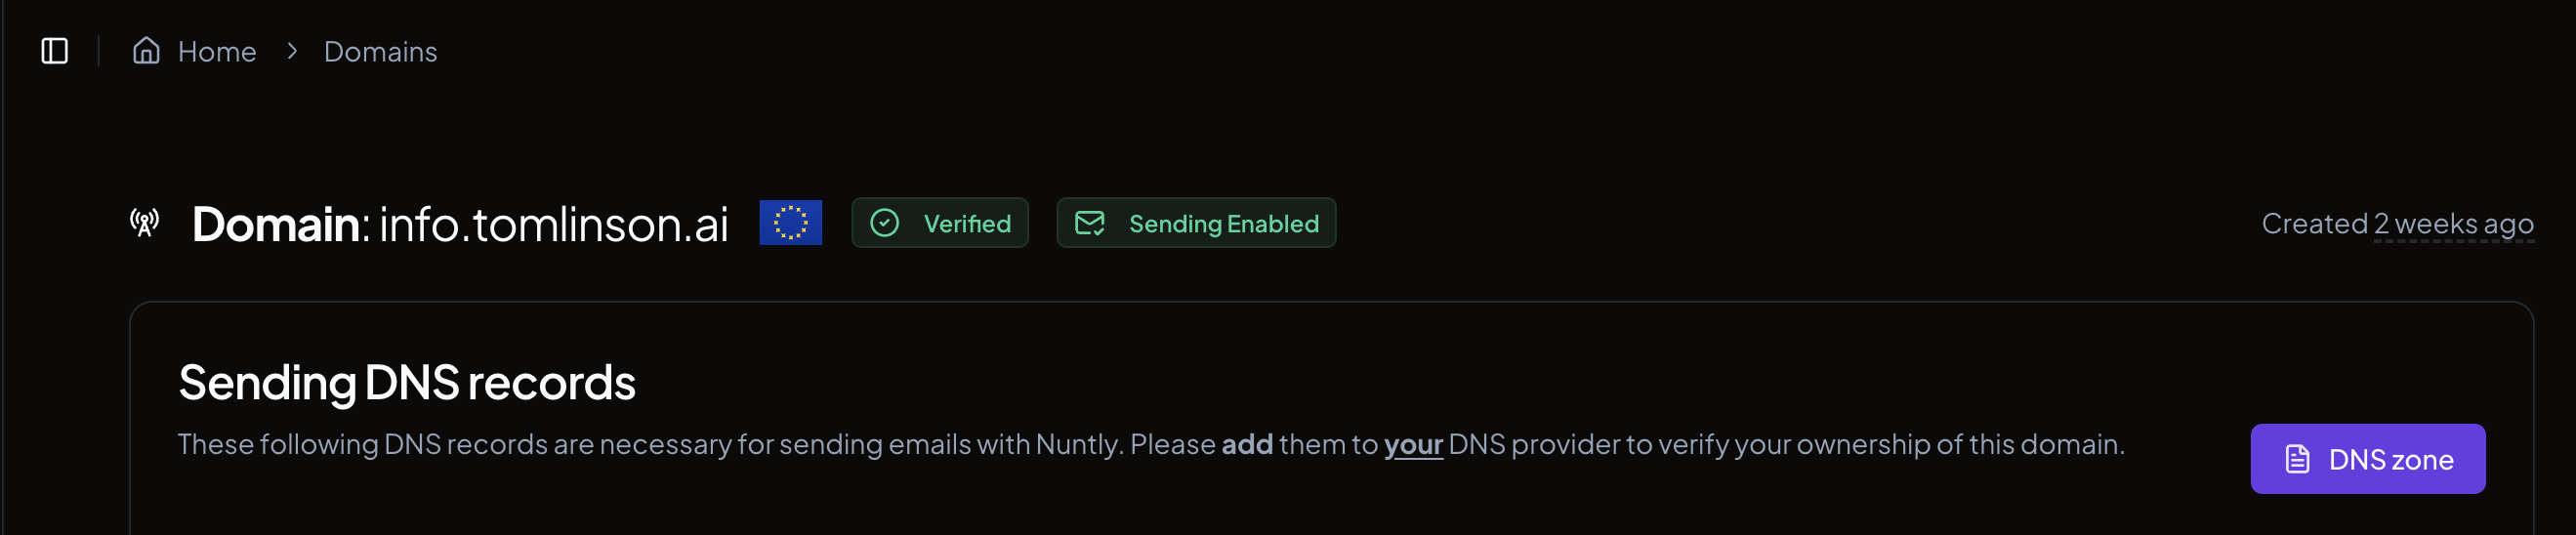
On your domain detail page, click the **DNS zone** button.
### Add records manually
For each record in the table, copy the **Name** and **Value** fields and add them as new DNS records in your provider's control panel. The exact steps depend on your provider. Refer to their documentation for instructions.
### Import via zone file
If your DNS provider supports zone file imports, you can add all records at once:
On your domain detail page, click the **DNS zone** button.
 Copy the zone file content or click **Download Zone File** to save it as a `.zone` file.
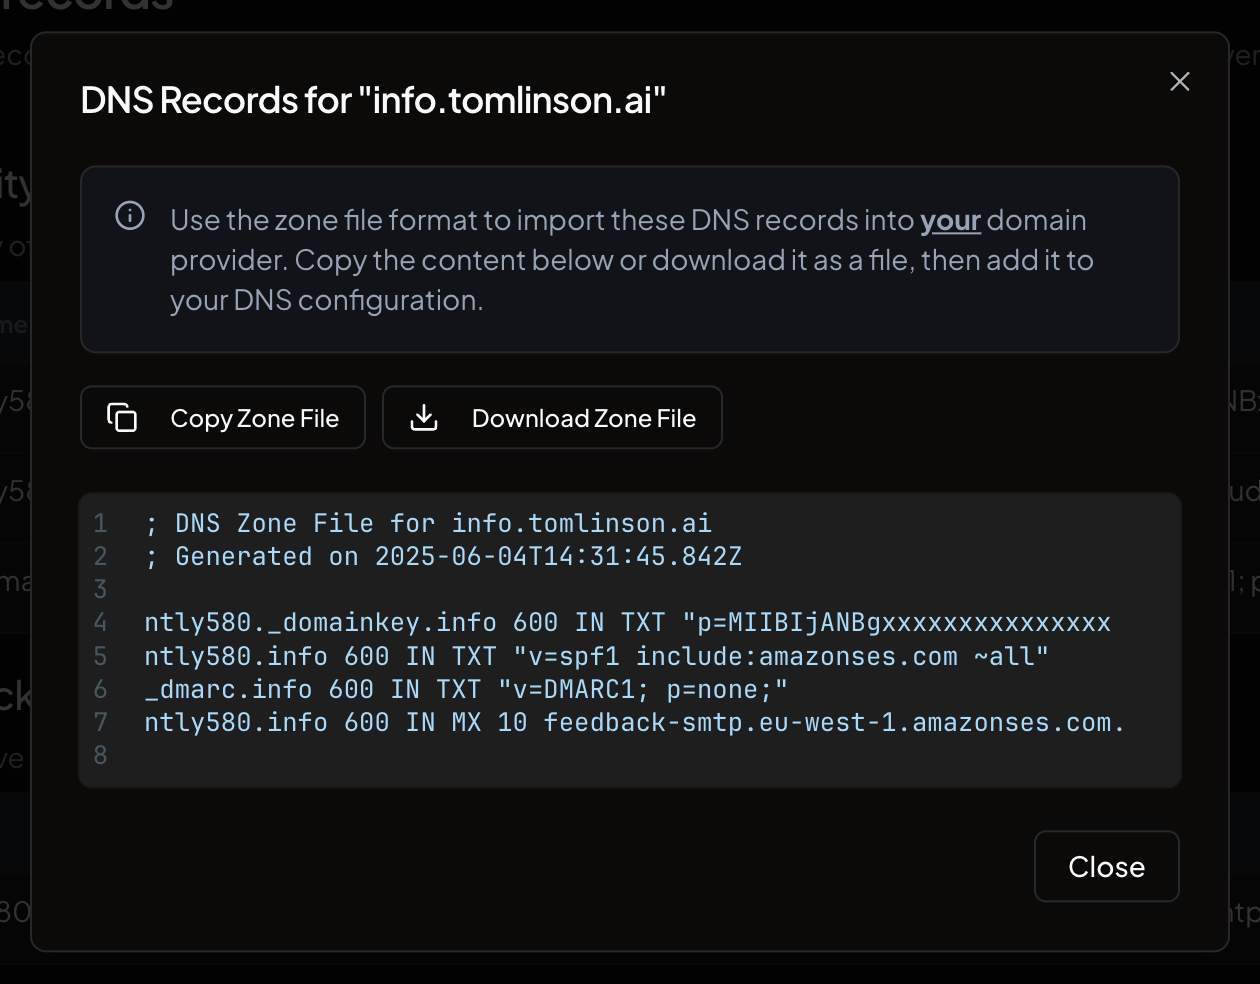 Import the file into your DNS provider.
### Configure via MCP
You can also set up your sending domain using the Nuntly MCP server, which allows you to manage domains through natural language commands. See the guide: [Supercharge your email stack — natural language automation with Nuntly MCP server](https://nuntly.com/blog/supercharge-your-email-stack-natural-language-automation-with-nuntly-mcp-server).
## Domain verification
After you add the DNS records, Nuntly automatically checks for propagation. The status badge on your domain page updates as verification progresses. DNS propagation can take anywhere from a few minutes to 48 hours depending on your provider.
## Enable open and click tracking
Once your domain is verified, you can track recipient engagement. Go to your domain detail page and toggle the switches under **Measure engagement**:
* **Open tracking.** An event is emitted when the recipient opens your email.
* **Click tracking.** An event is emitted when the recipient clicks a link in your email.
Import the file into your DNS provider.
### Configure via MCP
You can also set up your sending domain using the Nuntly MCP server, which allows you to manage domains through natural language commands. See the guide: [Supercharge your email stack — natural language automation with Nuntly MCP server](https://nuntly.com/blog/supercharge-your-email-stack-natural-language-automation-with-nuntly-mcp-server).
## Domain verification
After you add the DNS records, Nuntly automatically checks for propagation. The status badge on your domain page updates as verification progresses. DNS propagation can take anywhere from a few minutes to 48 hours depending on your provider.
## Enable open and click tracking
Once your domain is verified, you can track recipient engagement. Go to your domain detail page and toggle the switches under **Measure engagement**:
* **Open tracking.** An event is emitted when the recipient opens your email.
* **Click tracking.** An event is emitted when the recipient clicks a link in your email.
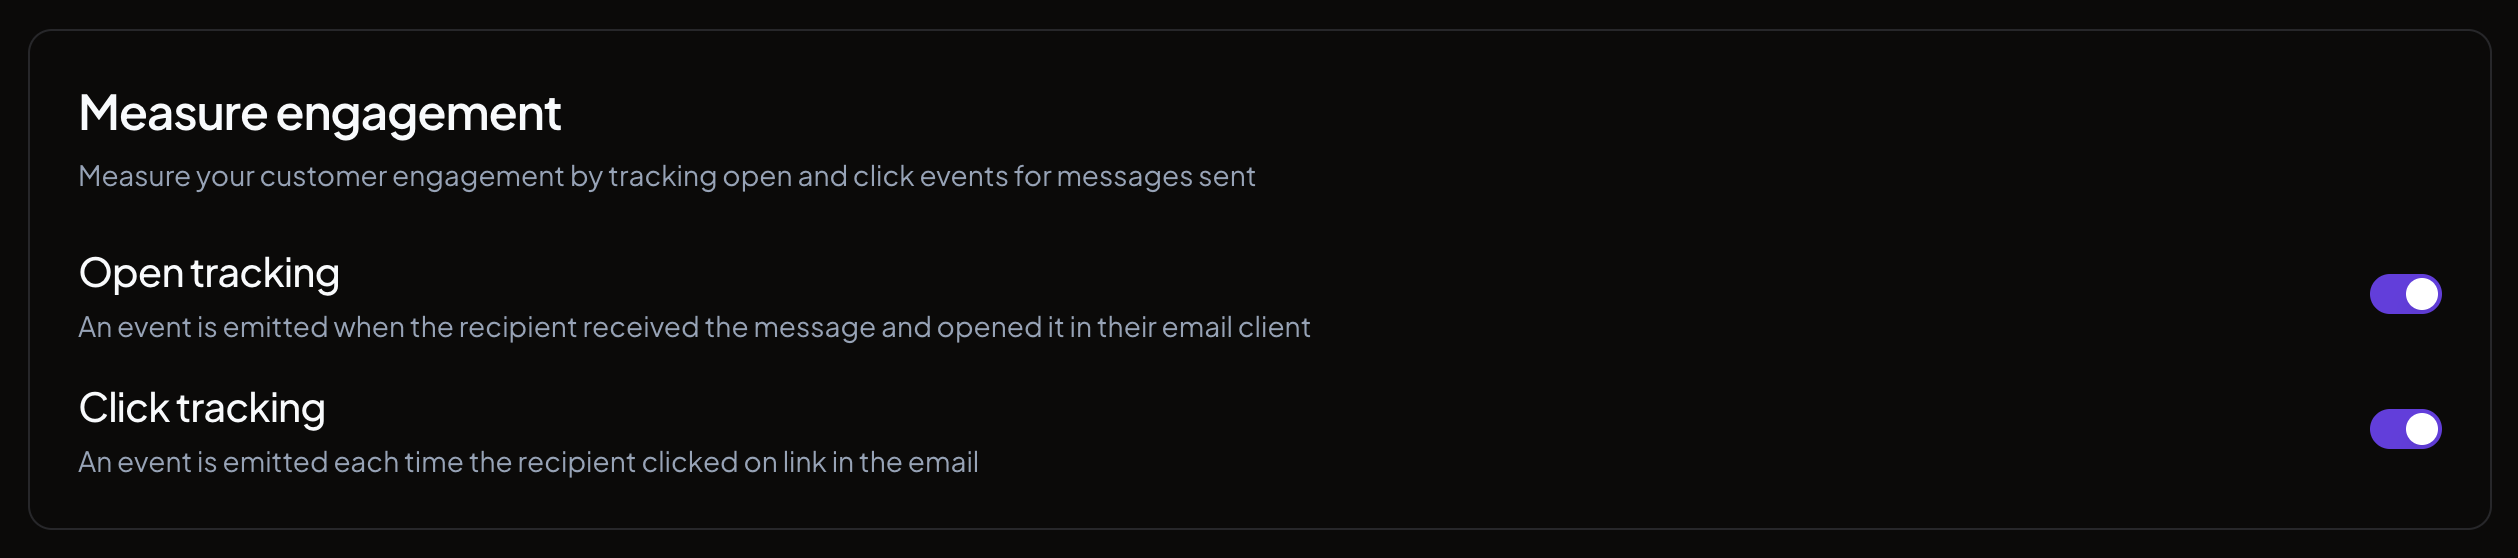 Tracking toggles are only available after your domain is verified.
Events generated by open and click tracking are visible in the [Observability](/docs/guides/observability) page and can be received via [webhooks](/docs/guides/webhooks).
## Troubleshooting
**Domain is stuck in pending verification**
Check that the three required DNS records (DKIM, SPF, MX) have been added correctly. Compare the Name and Value fields from the dashboard against what is configured in your DNS provider. Some providers require you to remove trailing dots from record names or values. DMARC is optional and never blocks verification, so a missing or stricter DMARC record is not a cause of stuck verification.
**DNS records are correct but verification hasn't completed**
DNS changes can take up to 48 hours to propagate globally. If verification hasn't completed after 48 hours and your records are correct, contact [support](mailto:support@nuntly.com).
Tracking toggles are only available after your domain is verified.
Events generated by open and click tracking are visible in the [Observability](/docs/guides/observability) page and can be received via [webhooks](/docs/guides/webhooks).
## Troubleshooting
**Domain is stuck in pending verification**
Check that the three required DNS records (DKIM, SPF, MX) have been added correctly. Compare the Name and Value fields from the dashboard against what is configured in your DNS provider. Some providers require you to remove trailing dots from record names or values. DMARC is optional and never blocks verification, so a missing or stricter DMARC record is not a cause of stuck verification.
**DNS records are correct but verification hasn't completed**
DNS changes can take up to 48 hours to propagate globally. If verification hasn't completed after 48 hours and your records are correct, contact [support](mailto:support@nuntly.com).