Before you begin, create a Nuntly account if you haven’t already.
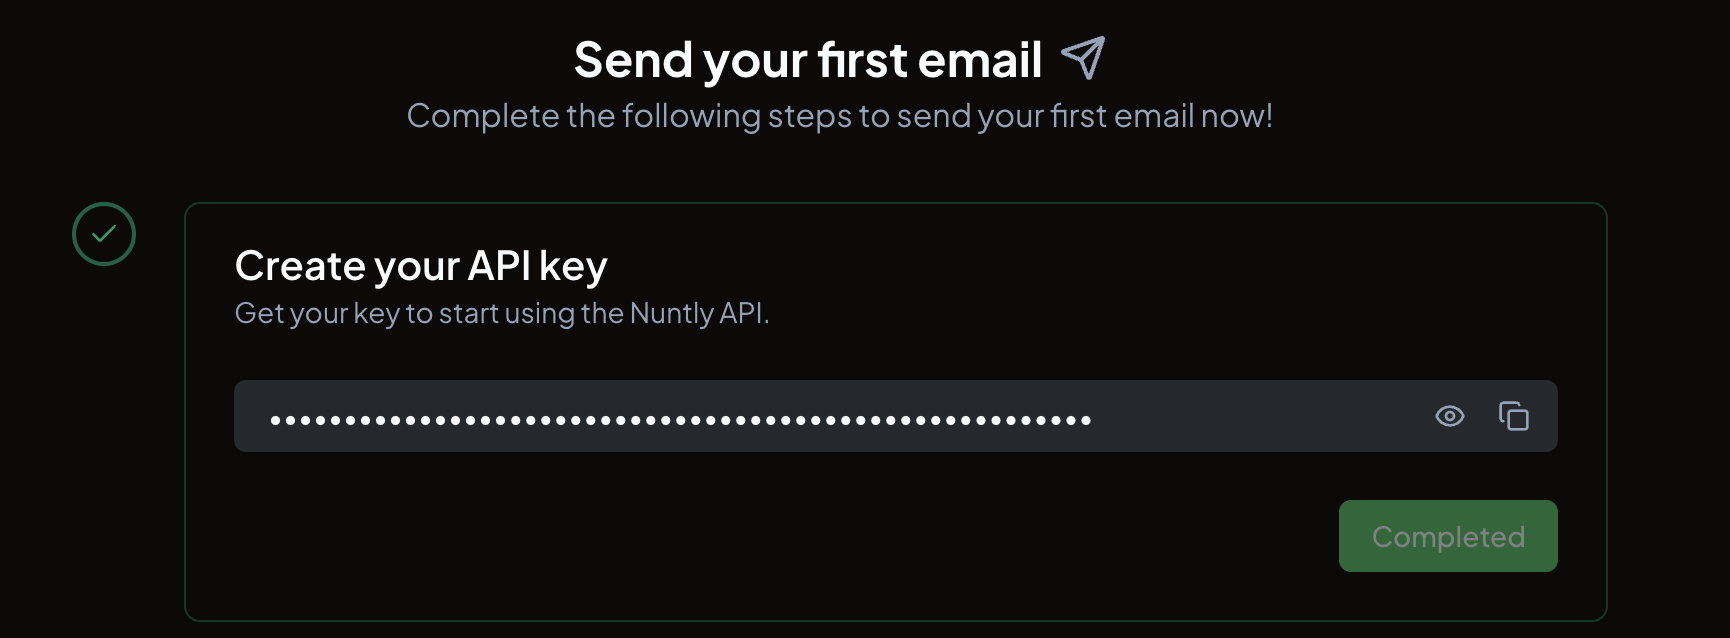
Create your API key
Your API key authenticates all requests to the Nuntly API. On the getting started page: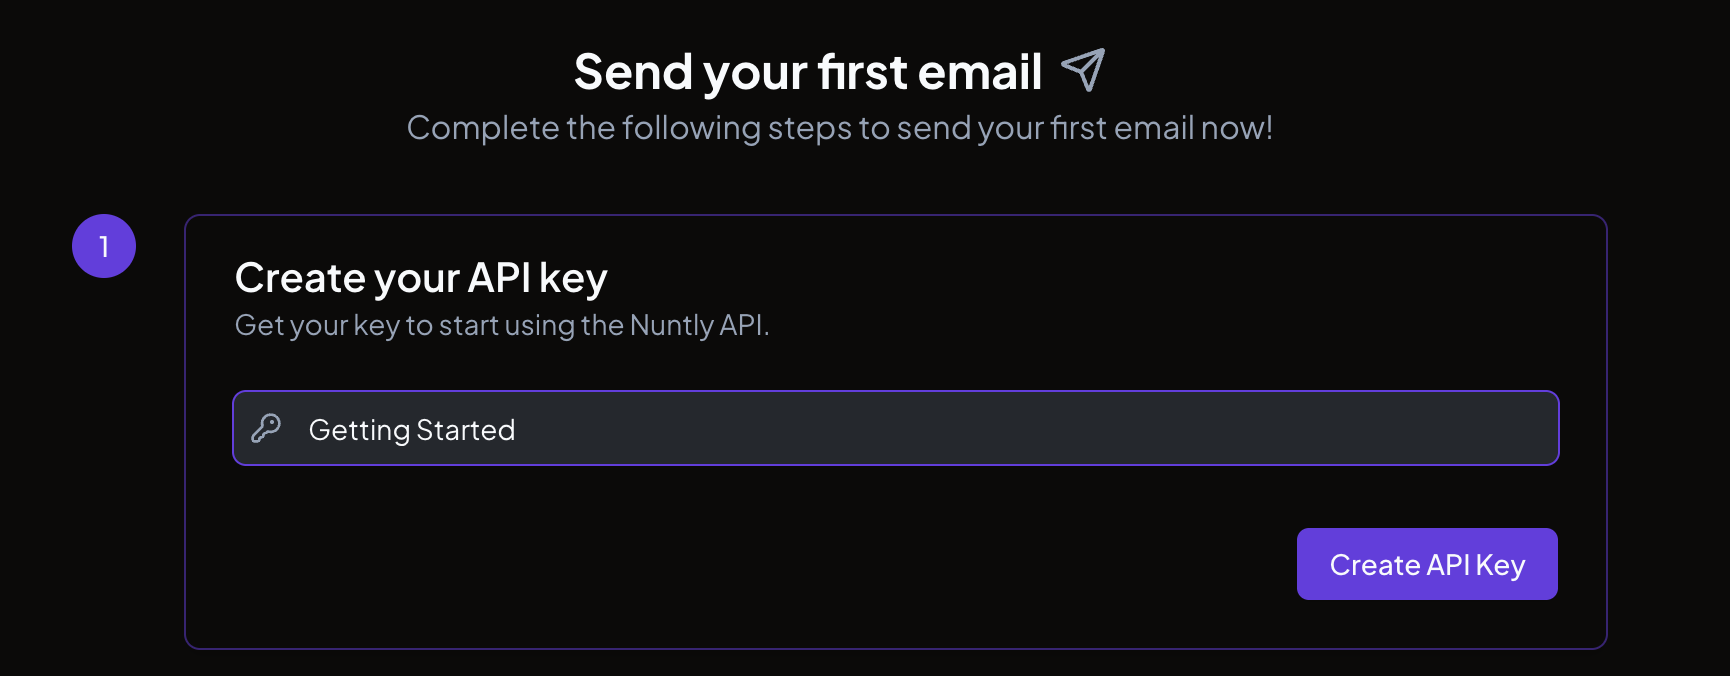
- Enter a name for your key (the default is “Getting Started”, but you can change it to anything descriptive)
- Click Create API Key
Send your first email
This step shows code samples for sending an email using the API key you just created. The samples are available in TypeScript, cURL, PHP, Python, Ruby, Go, and Java.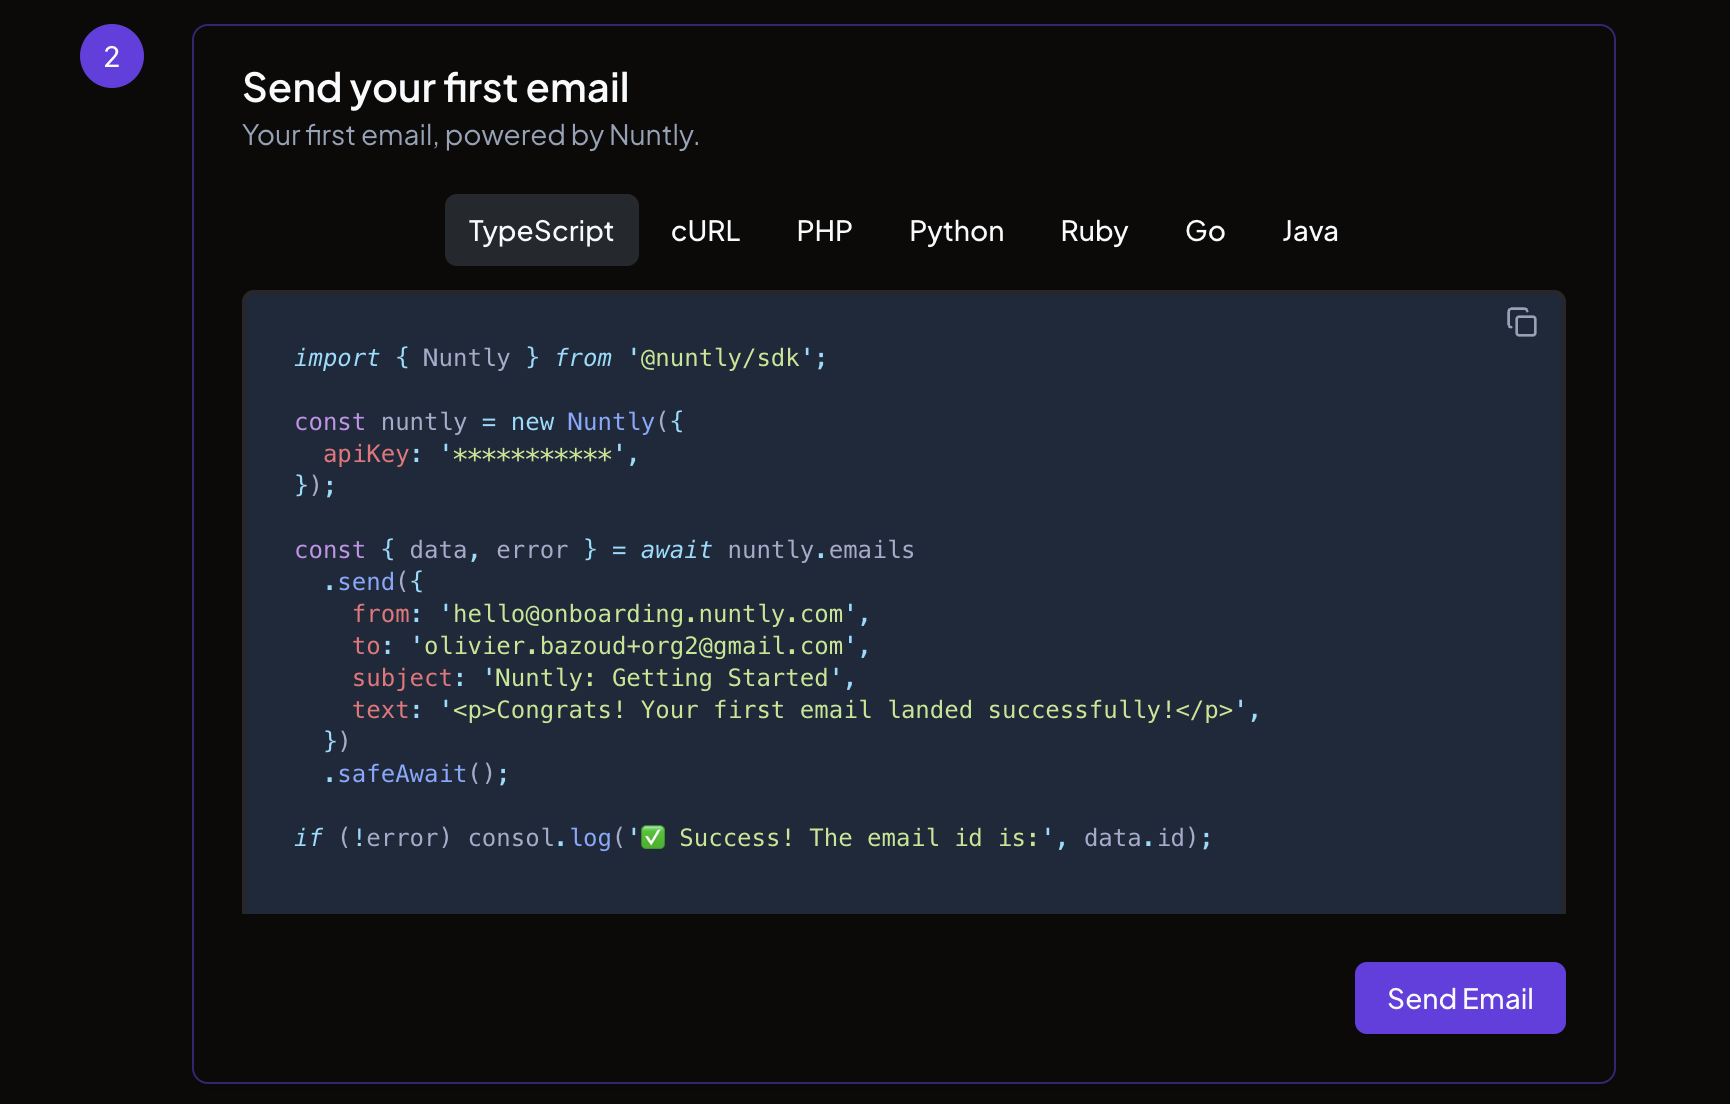
Go further
Once your test email is sent, you can set up the next things:
- Setup your own domain to send emails from your own domain instead of a shared one. See the sending domains guide.
- Setup webhooks to receive real-time notifications when email events occur. See the webhooks guide.
- Upgrade your plan to increase your sending limits and unlock additional features.